Day 5:
Before I lay track, I need to build a bridge across the little canyon. I didn't end up with any bridges on the Frazier Borate, and I wanted to make sure to include one this time.
I'm going with a simple, wood-frame trestle, with a "stone" footing, based loosely on Denver & Rio Grande narrow gauge standards.
I constructed a two bents, then assembled the two bents into a tower.

Most of this assembly is free or recycled stuff: The posts are scraps of pine that I cut on my table saw for another project, and the diagonal bracing is coffee stir sticks I brought home from work. The stringers are from a bargain bag of assorted strip wood from the craft store. The footings are carved from scraps of foam. I also made a couple of cribbing abutments from some quarter inch square strip wood from the same bargain bag.
Day 6:
Bridge installation. I cut a simple gauge from cardboard to help me get the bents properly positioned in relation to where the track will be. I made the footings extra tall, knowing I would trim them down to get the right height. Turns out they were nearly twice as tall as I needed.

I didn't like the perfectly flat canyon floor, so I cut a piece of foam to roughly fit the space, and tapered it to a gentle slope, with a gully in the middle where I may put a small stream, flowing with snowmelt. In this case, I used beadboard type foam because I had some handy. I wanted to glue the footings directly to the plywood, so I guesstimated the locations and cut holes through the beadboard where the footings would go. I glued down the foam, then glued the footings in the "wells" I had cut in the foam. After fiddling and fitting and gluing everything, I filled the gaps with spackle, then set it aside to dry. The trestle framing here is just sitting loose on the footings to check that everything is properly positioned before I go any further. You can see my cardboard alignment gauge in this picture.

When the spackle was dry, I painted the canyon floor tan. Why, you may ask, would I paint perfectly snow-white landscape if I'm just going to cover it with snow later? Like I said, I'm thinking I may add a little stream down the middle, and it needs a dirt-colored streambed; and I may want to have some rock rubble or even a few patches of dirt showing through the snow.
I added the stringers between the trestle bents and the abutments, and then got carried away and glued down the bridge ties without thinking it through. I'm not satisfied with the way they turned out -- they're all crooked and irregular -- so I will probably tear them off and redo the trestle deck before I start spiking down rail. Looking at the pictures, I also want to add some nut-bolt-washer castings.
I also started laying down ties on each side of the trestle. I'm cutting my own ties from 1/8 square stripwood. Not too onerous for such a small project, but if I ever decide to hand lay anything larger, I'll do myself a favor and buy pre-cut ties.


Day 7:
Work (remember that?) intruded today, so I didn't get a heck of a lot done. I fiddled with the trestle and improved the ties somewhat. Not much more I can do without completely tearing it apart, and I'm not inclined to do that right now. I also realized that adding NBW castings was going to be more of a challenge than I thought, so I may let that go as well. Perhaps I'll replace the bridge at some point in the future.
I did get all the ties glued down, and added some rock rubble in the canyon. Tomorrow I hope to do snow and other details in the canyon, then glue in the bridge. Then I can lay rail.

Day 8:
Rail laid. Not all of it, but most -- just the trestle, and a few inches on each end, remain to be done. I'm using Code 83 weathered rail -- maybe Railcraft? -- salvaged from my old H.O. layout.
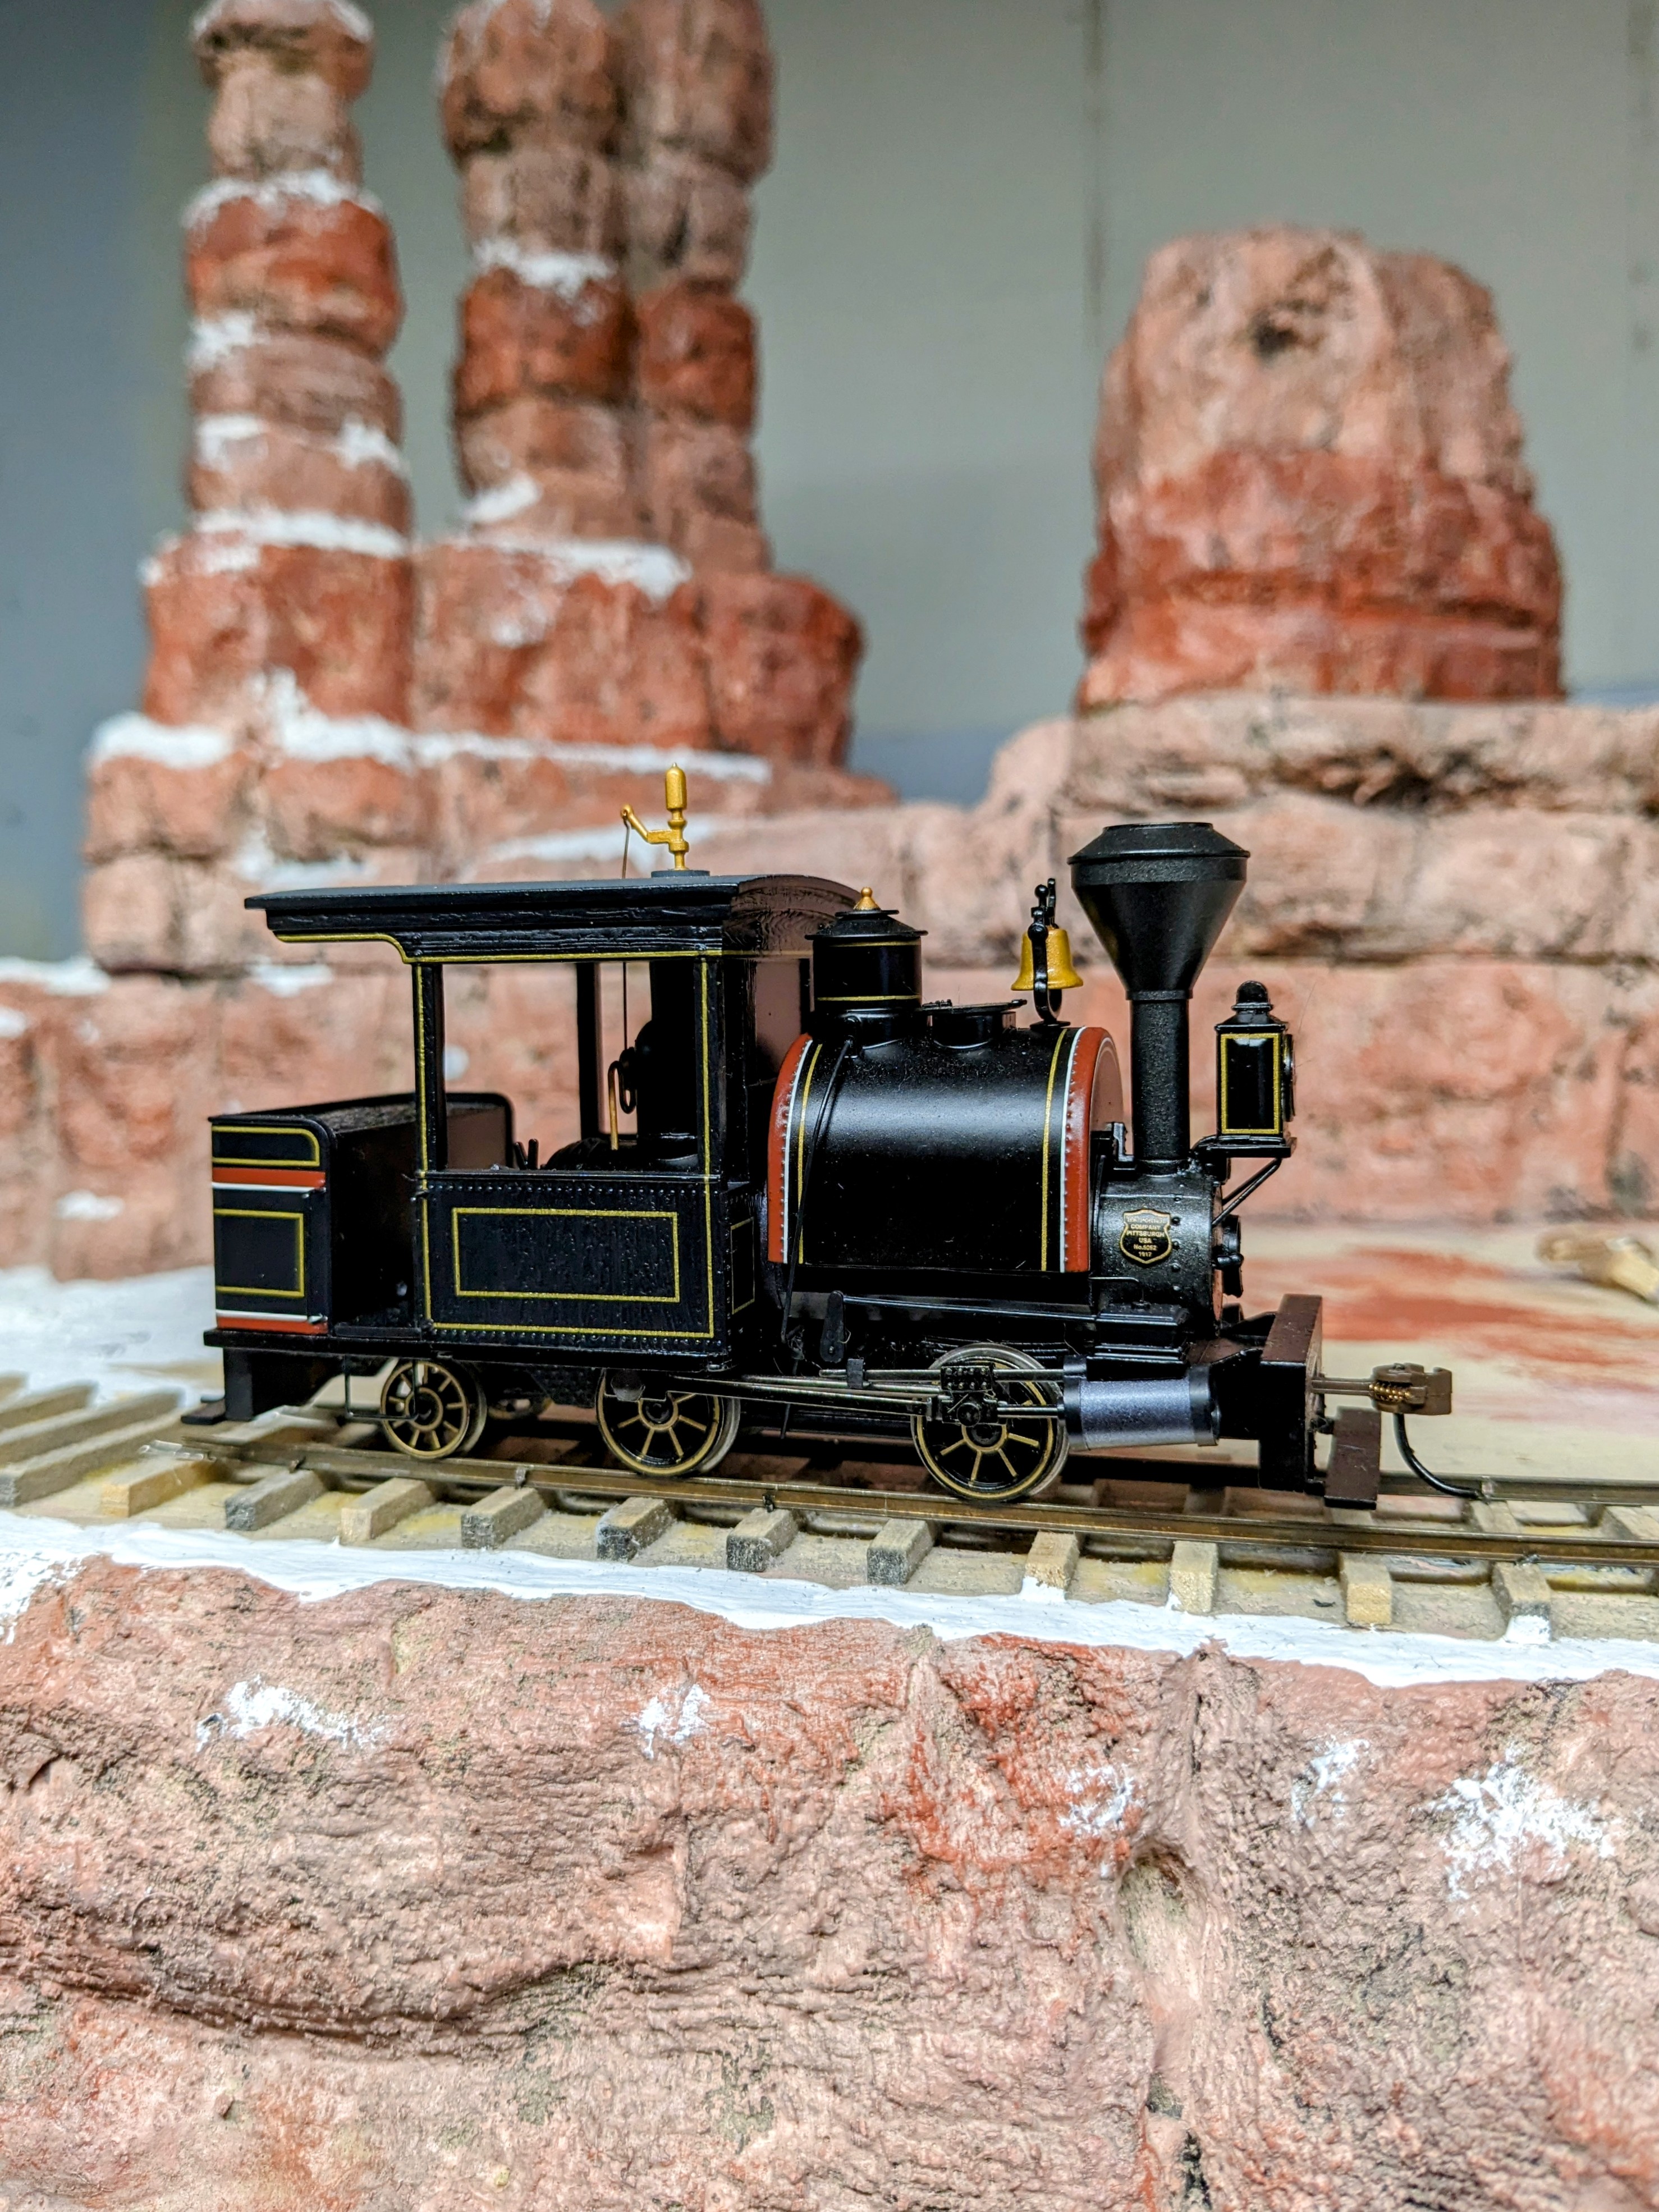
I don't know if the 0-4-2 or the Mount Blue passenger cars will run on 10 inch radius -- for that matter, it remains to be seen if anything will run on my trackwork -- but here they are posed on the back side of the mesa.

Day 9:
I hooked up some feeders and test ran the Porters. Found a few places the track was out of gauge. With those fixed, the 0-4-0 runs well, the 0-4-2 about 95 percent. A few more adjustments and all should be well.
I was able to add NBW castings on the trestle, at least on the end-facing sides of the bents and on the side bracing. I gave them a touch of rust color paint, and the trestle is ready to go.
The Mod Podge that I applied in the creek bed yesterday was dried clear by this morning, so I added a second coat. With that done, I glued the bridge in place lightly with Aleene's Tacky Glue.

I may not get much more done today, since we're supposed to go up to visit our friend Lee in the Lockwood Valley (home of the L&SE). Tomorrow I'll lay rail across the bridge and maybe do some more snow.
Day 10:
I finished laying rail across the bridge. I made a simple radius gauge from cardstock and discovered the both curves were a little off radius in places, so I made some corrections. Still having trouble with the 0-4-2 derailing. The 10 inch radius is pushing the limits for that locomotive, so I'll check track gauge one more time, but I may just have to live with only using the 0-4-0.
Did another small batch of snow as well.

Day 11:
Work is interfering with trains again today, but I did get in a little time this morning. I soldered feeders to the rail and did some test running, and identified a couple of spots where the 0-4-2 was derailing.
After some adjustments, both of my 0-4-2s are now running fine around the layout in both directions. I kicked it up a notch and added first one, then both of the shorty passenger cars, and they, too, ran fine. That's really cool.

I still need to do some more spiking; I initially just spiked every fourth tie, and I want to do at least every second tie.
Comments
Post a Comment